-
Beds and Borders
Planning Garden Borders
 Your first step to creating a beautiful border is to resist the temptation to make a trip to the garden centre or an online nursery. There are a few matters that it would be wise to address beforehand.
Sunny, Shady, a bit of Both?
Do you know how much sun and shade your planned border gets? Your plant choice will be determined by this – if it faces north, or is overhung by shady trees, there is no point planning to grow sun-loving plants.
Soil Type?
Do you know your soil type ? Is it acid, lime or neutral, sandy, loam or clay? Some plants dislike one particular type of soil but will thrive in another. Knowing your soil type will save you money and help you to choose the right plants. Soil testing kits are readily available online or from garden centres.
Revamping an Existing Border
If your planned border is an existing bed, it makes sense to remove as many of the current plants as possible (even those you are planning to keep) so that you can dig over the soil, remove weeds and add compost or fertiliser. This is so much easier than trying to plant round things. Clearing the bed and planting is best done in the autumn or early spring. Take the opportunity to divide large clumps of plants that you might have lifted. Usually the centre of the clump should be discarded as it will be the oldest, rather tired part – the active growth happens round the edges, so break these off and set some aside to replant and pot the rest up as spares or to give to gardening friends as presents. To look their best herbaceous borders need this treatment every 3-5 years.
Starting from Scratch
If it is a new bed, spend time and trouble in the preparation. As hard as it is, try not to be impatient because there is nothing more boring than a weed infested border, or one where the soil has settled so that the plants are growing out of a hole! If the area has established perennial weeds these really need to be tackled before you can do anything more interesting. The best method for organic gardeners is to dig over the area by hand, removing as many weeds as possible and then cover the ground with black plastic or a similar material. This will force the remaining weeds upwards looking for light. Peeling back the plastic will reveal their bleached stems on the soil surface and you can then carefully dig them out. To really clean the soil can take a year and some weeds like ground elder can be even more persistent as any fragment of root will regenerate in the presence of light. Non-organic gardeners can short cut this process, but should try to only do an initial spraying and not see it as an ongoing solution. Newly dug soil or newly filled beds generally take 3 months to settle at which point you can top them up and start planting.
And here’s some garden border tips from our youtube channel.
Year Round Interest
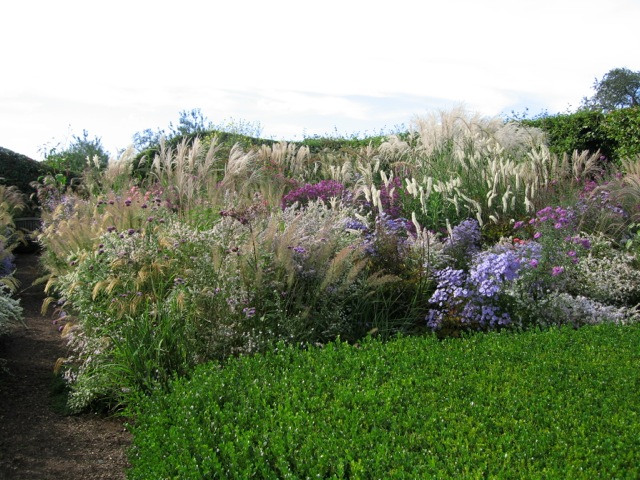
One of the most common complaints about garden borders is that they look gorgeous in early summer but lack interest the rest of the year. Bear this in mind from the beginning and you can plan a border that earns its keep throughout the seasons. The inclusion of evergreens, structural plants such as grasses, and garden architecture (obelisks and other wooden or metal plant supports) will provide interest during the winter months. Bulbs are essential in the spring when they are framed by the emerging foliage of the herbaceous plants that will flower later in the year. You will probably need to replant tulips each year as the soil in most borders is too rich and moisture retentive for their taste. They really need to bake in the summer to repeat flower. Here’s our top five favourite tulips.
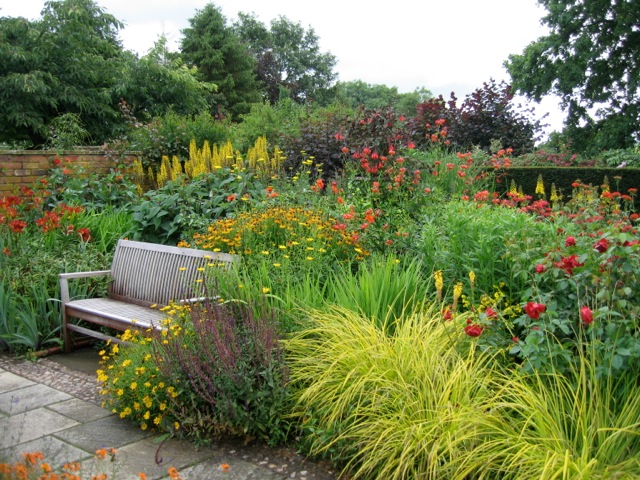
When selecting your herbaceous plants try and mix early, mid and late season flowers for continuing interest and if the border is in full or partial sun you can tie them together with repeat flowering shrub roses and clematis. Don’t forget annuals and biennials either – forget-me-nots and foxgloves are perfect for shady borders and will self seed readily, while sun lovers ammi majus, cosmos and cornflowers will stylishly pick up the baton in late summer. You can try sowing them direct, but I generally have more success when I grow them on in pots in the greenhouse and plant them out when they are well-established.
Buying your Plants
 Plan this for early spring or autumn. In mild areas it is best to plant in autumn and give the plants time to get their roots well down into the soil before winter. In cold regions it is usually better to plant in early spring to avoid losses of immature plants overwinter. Either way, place an order well-ahead of planting time with a reputable online company or a good nursery that will put your order together for you. Plan your plant selection at home rather than wandering along to the nearest garden centre and selecting things that are looking good, only to get home and discover that they grow too large, don’t like the conditions or will all have finished flowering in the next three weeks.
Garden centres are about seduction – and you are after a long-term relationship with your plants not a brief affair. As lovely as a plant may look when it is in full flower, this is not the time to plant it – it should be dormant or just starting into growth so that it can establish in the border and give you the benefit of its beauty rather than catching your eye just before it goes over. The other aspect of buying plants at a garden centre is the temptation to accept substitutes if they don’t have the plant you really want. Unless the alternative is as good as, or even better than your chosen plant you will be wasting your money.
Planting by Numbers
One of the keys to good border planting is grouping drifts or clusters of the same plant rather than individual specimens. The resulting border will be more cohesive and will have a more satisfying scale than a one-of-this-and-one-of-that approach. Planting in odd numbers, 3s, 5s or 7s always works better than even numbers too. With even numbers, planting needs to be symmetrical to look good and nature isn’t big on symmetry.
Keeping up Appearances
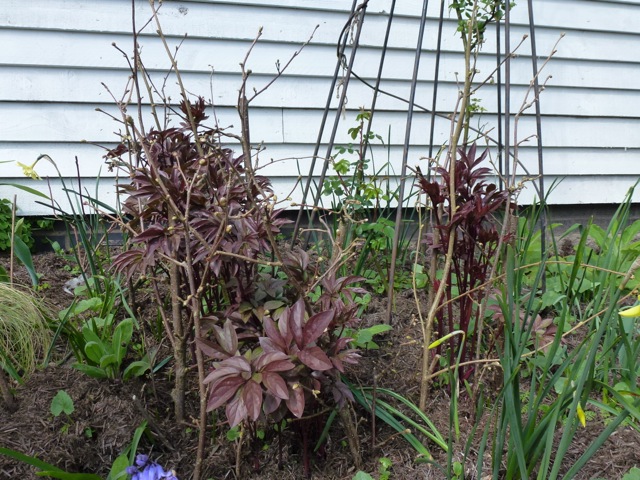
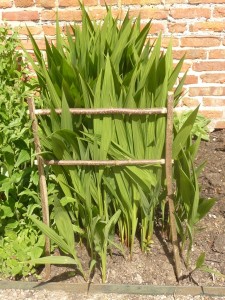 Once your border is planted how can you make sure that it looks as lovely as possible without being too demanding ? Two things that will make all the difference are staking and mulching. In the spring, just as the plants start into growth, stake plants that might flop later on. I prefer twiggy branches – hazel or silver birch – they look attractive early on and disappear entirely once the plants have grown through them – and they are inexpensive. Once the staking is done, mulch around the plants to help retain soil moisture and supress weeds. A thick mulch applied in spring will save work later in the year. As the year advances add extra supports if necessary and deadhead any flowers that are going over – not only will it look better but it will encourage the plant to produce more flowers. If you would like to delay or extend the flowering period in the border you can use the technique known as the Chelsea Chop.
Colour in the border
Sometimes, despite your best efforts, the garden border does not deliver the results you’re after. This could be due to the plant colour combination. A basic understanding of how best to use colour in the garden can help turn an ordinary garden border into a stellar performer.
The Winter Border
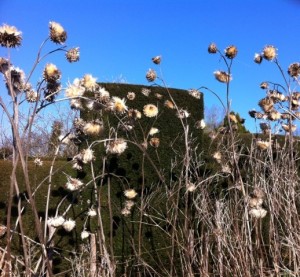 In the past it was recommended that borders should be ‘put to bed’ in late autumn with everything cut back and tidied up. Nowadays we have a greater appreciation of seedheads, both for their appearance and their benefit to wildlife and, combined with ornamental grasses and evergreens, they contribute to a border that remains interesting right through to spring. As a general rule of thumb, just cut back plants that have collapsed and remove anything that has clearly died. There will come a point in early spring when bulbs start to show and there are signs of fresh growth which is when you can sort it all out and prepare for another year of loveliness.
The following posts from the blog may also provide a little inspiration:

