-
How to Make a Succulent Wall Planter
23rd October 2014 • General • Stephanie DonaldsonIn the same way that you might put a picture on the wall in your home with the good fortune of a wall in the garden you can do the same with a succulent wall planter. A frame of plants to admire that will grow as the season extends providing you with months of interest as each succulent comes into flower. There’s a few tutorials around the web on how to construct the framework although we’ll give you a brief look at how you might go about it.
The size of the frame was dictated by the materials to hand. Here’s what you’ll need for the framework.
The Succulent Frame – Materials required
- 4 lengths of attractive wood to make the front frame (these should be wider than the rear framework)
- 4 lengths of (cheaper) wood for the rear frame
- Material for backing the frame such as marine ply
- Chicken Wire
- Black landscape fabric
- Fixings : long screws to fix frame together, wire staples to hold the chicken wire to the frame. Screws and plugs for securing to wall.
- Brackets
Constructing the Frame
Step 1 : Due to the rustic nature of the planter (and the garden) we didn’t go to the trouble of mitering the corners of the outer framework. This was simply butted up and screwed together from the side.
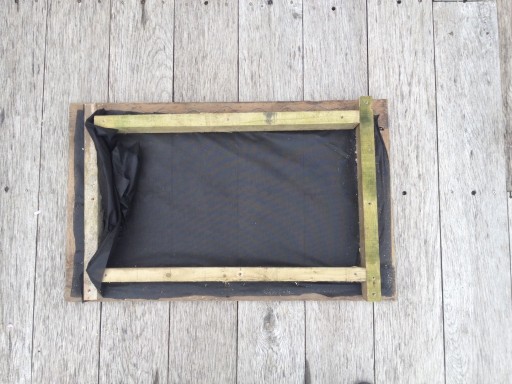
Step 2 : Staple the chicken wire to the rear of the frame followed by the landscape fabric.
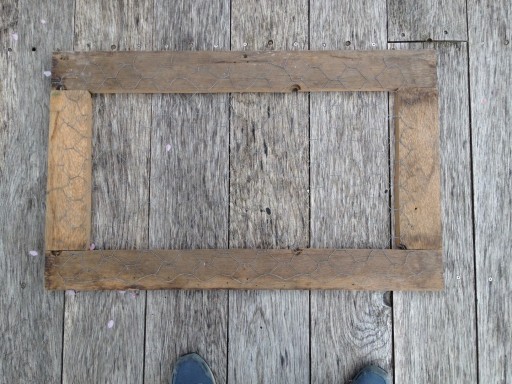
Step 3 : Fix the rear framework to the reverse of the front framework. This can be screwed together at the corners which will strengthen the front frame.
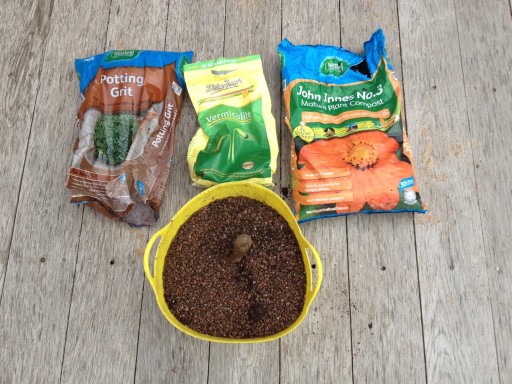
Step 4 : Mix John Innes no.3 with an even amount of grit and add a few handfuls of vermiculite to fill the frame.
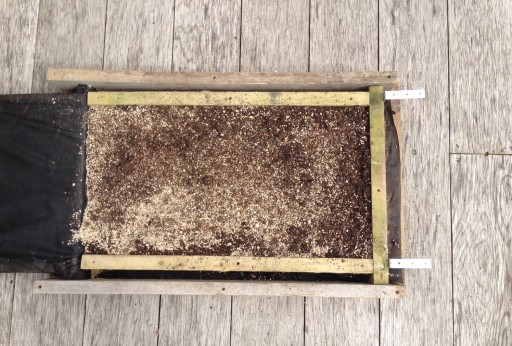
Step 5 : Attach and fix back in place. We chose to line the ply on the inside with a waterproof membrane. This was then screwed down to the rear framework around the perimeter.
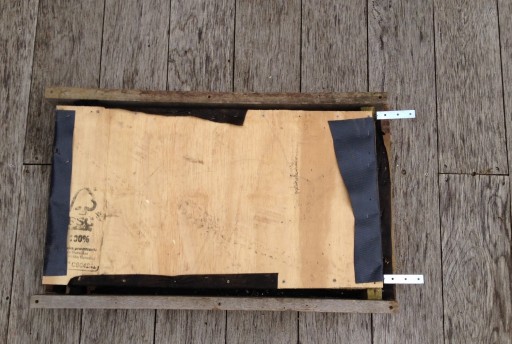
Step 6 : Fix brackets firmly in place.
The Fun Part – planting the frame with Succulents
The frame was then turned over in order to plant it up. Small plants might fit between the chicken wire although you may need a pair of pliers to cut through the wire for larger plants. A stanley knife can be used to perforate the landscape fabric.
We didn’t go overboard on the plants mainly due to cost but they’ll need room to grow and in the meantime you can decorate the spaces with bits of driftwood or pebbles as you see fit, let the creative juices flow !
Finally with a little help the frame was lifted and fixed in position.
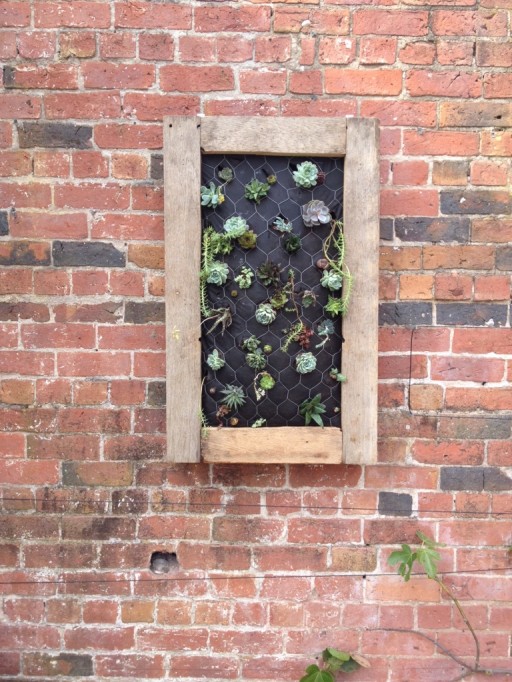
It’s looking a little bare in May.
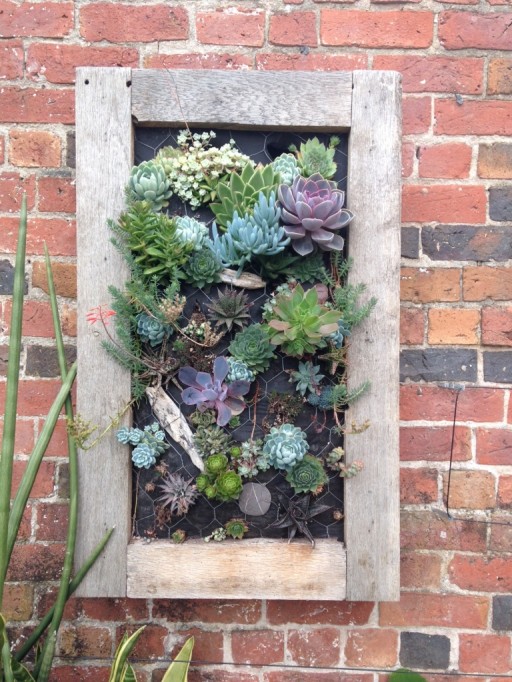
I told you they grow ! Here it is in September.
Since we opted for a large and very heavy frame we chose to fix a baton to the wall on which to rest the bottom of the rear framework so that the brackets were not solely reliant on supporting it. Optionally and certainly easier you might just choose to lean it against the wall.
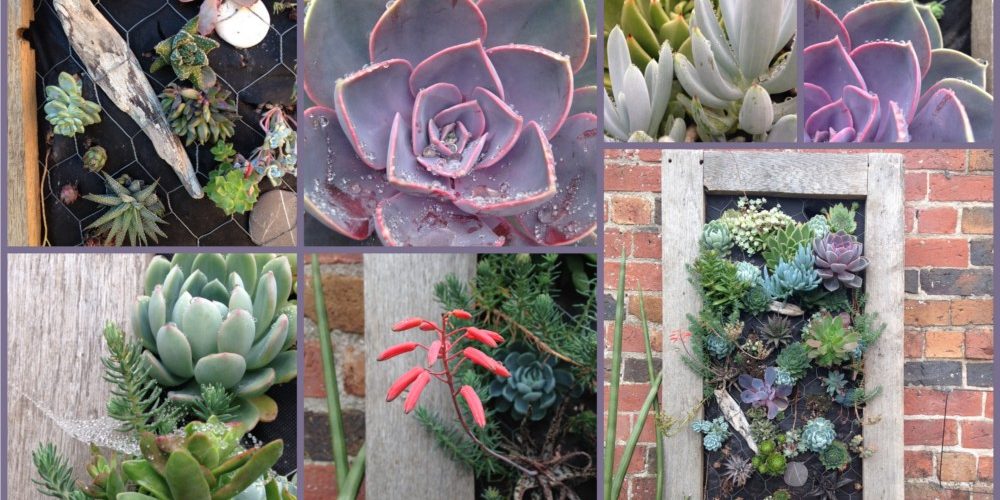
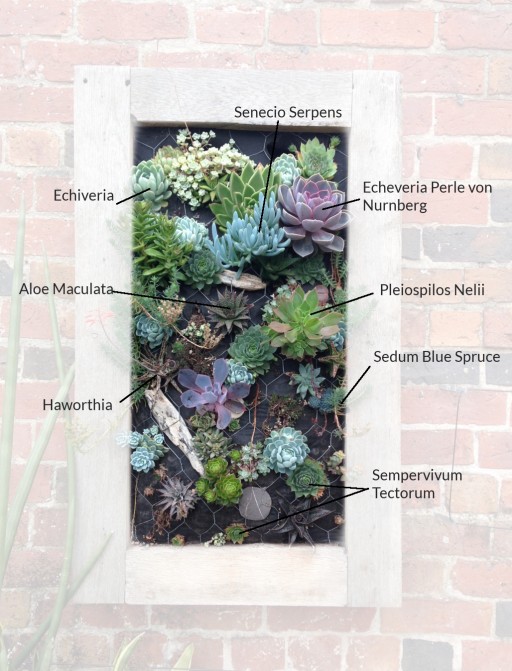
The Succulents
Observations
Next time due to the weight we’ll definately make the frame a little smaller.
A wider frame will make it more difficult to see the ugly rear framework.

